The Cast Iron Chronicles: A Gentleman's Guide to Campfire Cooking
Master campfire cooking with cast iron — heat management, essential techniques, and the meals every gentleman should know how to cook over open flame.
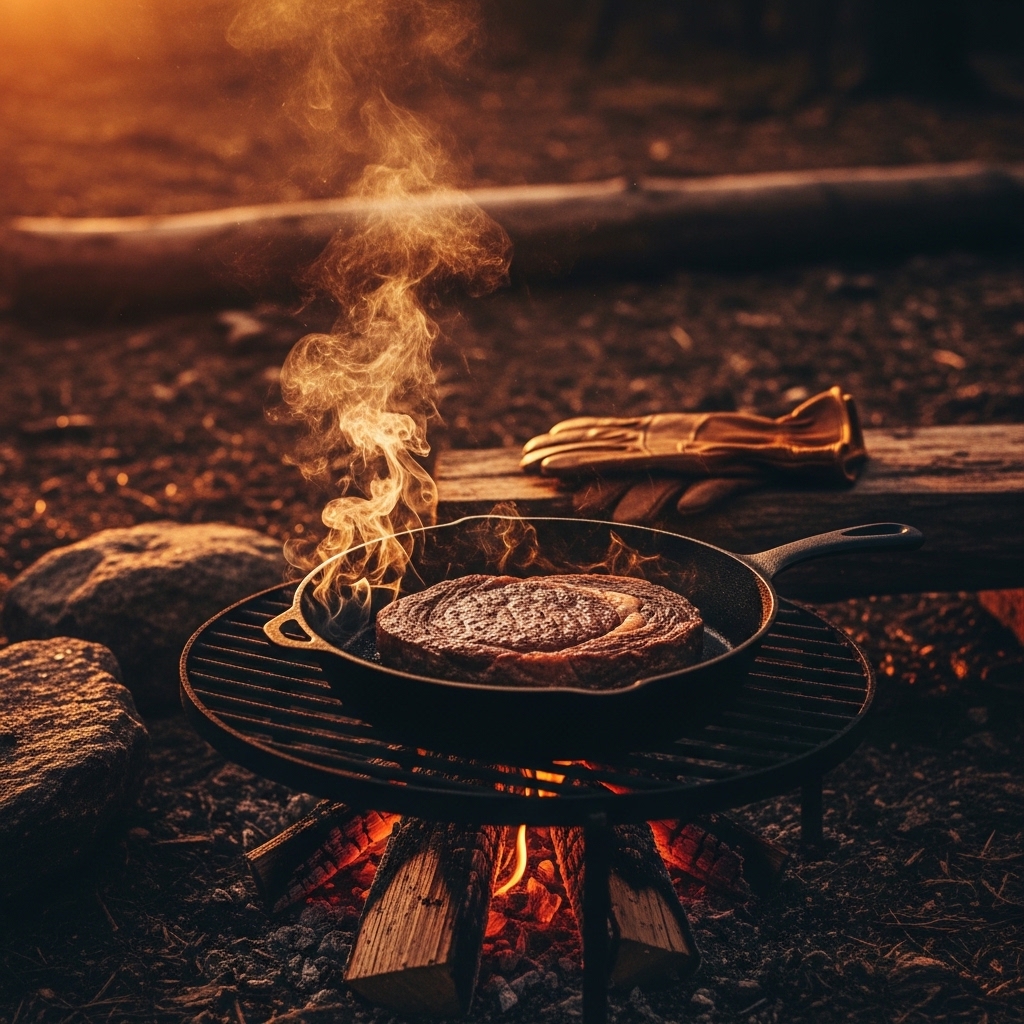
There are few pleasures as primal and refined as cooking a proper meal over an open fire. Not the aluminum-foil-packet, hotdog-on-a-stick affair of scout camp — but real cooking. A thick slab of beef searing in a cast iron skillet over hardwood coals, the smoke doing what smoke does, the firelight doing what firelight does.
A gentleman carries the right tools. Cast iron is the only tool that matters out here.
Why Cast Iron Belongs in Your Camp Kit
Modern cookware is designed for flat, controlled heat. Cast iron was designed for everything else.
The physics are simple: cast iron retains heat better than any other common cookware material. That means once it’s up to temperature, it doesn’t care about the chaos underneath it — the fluctuating flame, the uneven coal bed, the wind that kicks up from the tree line. It just cooks. Evenly. Predictably. The way it has for four hundred years.
A properly seasoned cast iron skillet is also naturally non-stick, requires zero special cleaners, and gets better with age. The 12-inch Lodge skillet you season this weekend will outlast you.
What to bring:
- 10” or 12” cast iron skillet — your workhorse
- 4-quart or 6-quart Dutch oven — for braises, stews, and bread
- A leather or silicone handle cover (the handle will be as hot as the pan)
- A small shovel or poker for coal management
The First Lesson: Learn to Read Fire
The mistake most camp cooks make is cooking directly over open flame. That’s for marshmallows.
Hardwood coals are what you want. Build your fire using proper split hardwood — oak, hickory, cherry, or apple all work beautifully — and give it 45 minutes to an hour to build down into a proper coal bed. You’re looking for glowing orange-red coals with a thin layer of grey ash on top. This is the sweet spot.
Rough temperature gauge: Hold your hand about 6 inches above the coals.
- 1–2 seconds before pulling away: high heat (450°F+)
- 3–4 seconds: medium-high (375–450°F)
- 5–6 seconds: medium (325–375°F)
- 7+ seconds: low heat (below 325°F)
Most campfire cooking happens in the medium to medium-high range. Use your firepit or a camp grate to position the pan over a section of the coal bed — not the active flame.
The Three Meals Worth Knowing
I. The Campfire Sear
Strip steak. Ribeye. It doesn’t matter much — just make it thick.
Season aggressively the night before if you can: coarse salt, cracked black pepper, a touch of garlic powder. Bring the meat to room temperature before cooking.
Pre-heat your cast iron over the coal bed for a solid 5–8 minutes. It should be very hot — a drop of water should vaporize on contact. Add a tablespoon of rendered beef tallow or clarified butter (both travel well and have high smoke points).
Place the steak in the pan. Do not move it. Listen to that sear — it should sound like sustained applause, not a spit and splutter. After 3–4 minutes, flip once. Baste with butter and crushed garlic if you brought some. Rest the steak off heat for 5 minutes before cutting.
That’s a campfire sear. No thermometer required if you’ve been paying attention.
II. The Dutch Oven Braise
This is Sunday morning camp cooking — the kind that gets the whole site curious.
The night before, cube two pounds of chuck roast into 2-inch pieces. Season with salt, pepper, and dried thyme. In the morning, heat your Dutch oven over the fire, sear the beef in batches until browned on all sides, then remove. Sauté half an onion and two cloves of garlic in the fond. Return the beef, add a can of crushed tomatoes and half a cup of red wine or beef broth. Lid on.
Now comes the part that separates the Dutch oven from the skillet: top heat. Load 8–10 coals onto the lid. This creates an oven environment — heat from below and above — and your braise will cook low and slow for 90 minutes to 2 hours. Check periodically, add liquid if needed.
Serve over instant mashed potatoes or just eat it straight with a spoon and some camp bread. You’ve earned it.
III. Camp Bread
Cast iron biscuits are the easiest win in the outdoors. Mix together 2 cups flour, 1 tablespoon baking powder, 1 teaspoon salt, and 2 tablespoons cold butter (worked in by hand) until crumbly. Add enough water to form a rough dough — about ¾ cup. Don’t overwork it.
Form into rough rounds. Heat your cast iron over medium coals, add a light coat of butter, and place the biscuits in. Top-load 6–8 coals on the lid. Cook 12–15 minutes. Golden, risen, and impossible to improve on with a bit more butter and camp honey.
The After-Fire Care Ritual
This is where most people go wrong. They either ignore the pan (rust) or scrub it with dish soap (strip the seasoning). Neither is acceptable.
While the pan is still warm — not scalding, just warm — use a stiff brush or the Lodge chain mail scrubber to remove food debris with hot water. No soap. Dry it immediately over low heat. Apply a very thin coat of oil (flaxseed, vegetable, or Crisco) with a paper towel, wipe off the excess, and let it heat until it smokes slightly, then remove.
That’s it. Takes three minutes. The pan is seasoned and ready for whatever comes next.
The Gentleman’s Camp Pantry
The difference between eating and dining outdoors comes down to preparation. A few pantry essentials that pack well and elevate everything:
- Flaky sea salt — Maldon travels in a small tin and transforms any protein
- Smoked paprika — Adds depth without adding weight
- Rendered beef tallow or ghee — High smoke point, long shelf life, incomparable flavor
- A small bottle of bourbon or amaro — For deglazing, for cooking, for sitting by the fire after
- Fresh rosemary or thyme — Tied in a bundle, lasts several days, perfumes everything
A gentleman doesn’t rough it. He brings the right provisions and makes something worth eating.
The fire will be what it is — unpredictable, primordial, indifferent to your preferences. The cast iron meets it on equal terms. Together, they produce meals worth remembering.
Light the fire early. Let it burn down. Trust the iron.
Pack your cast iron next time you head out. If you’re already a convert, tell me your best campfire dish — I’m always looking for new additions to the rotation.